Remington 1911 R1 ejector and slide/frame blending

The #1 community for Gun Owners in Indiana

Member Benefits:

  • Fewer Ads!
  • Discuss all aspects of firearm ownership
  • Discuss anti-gun legislation
  • Buy, sell, and trade in the classified section
  • Chat with Local gun shops, ranges, trainers & other businesses
  • Discover free outdoor shooting areas
  • View up to date on firearm-related events
  • Share photos & video with other members
  • ...and so much more!
  • T-DOGG

    I'm Spicy, deal with it.
    Site Supporter
    Rating - 99.6%
    263   1   0
    Feb 4, 2011
    17,553
    149
    New Haven
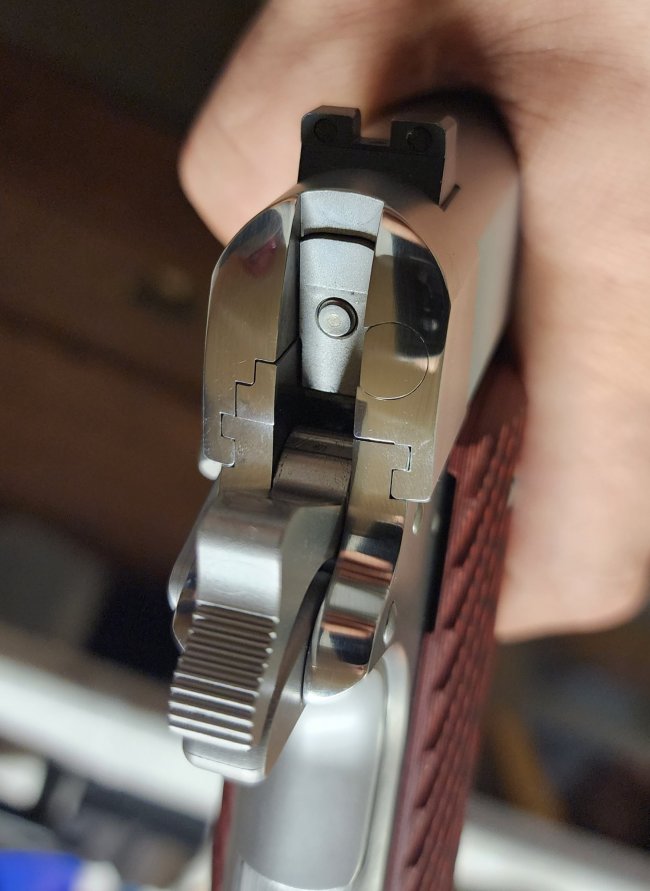
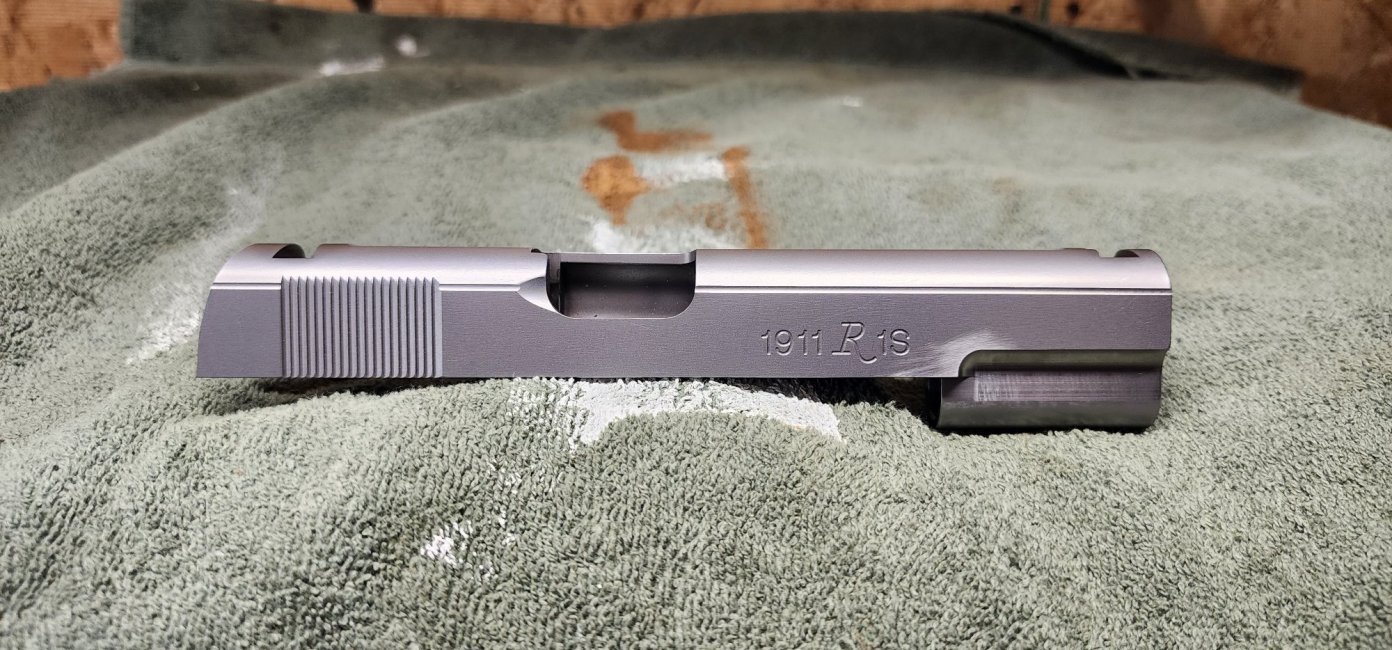
    This is a pretty good example of a Remington 1911, with the exception of the ejector being very recessed in the rear and the slide to frame not blending well together. So, I decided to fix that with an EGW long ejector and a fair amount of manual labor.

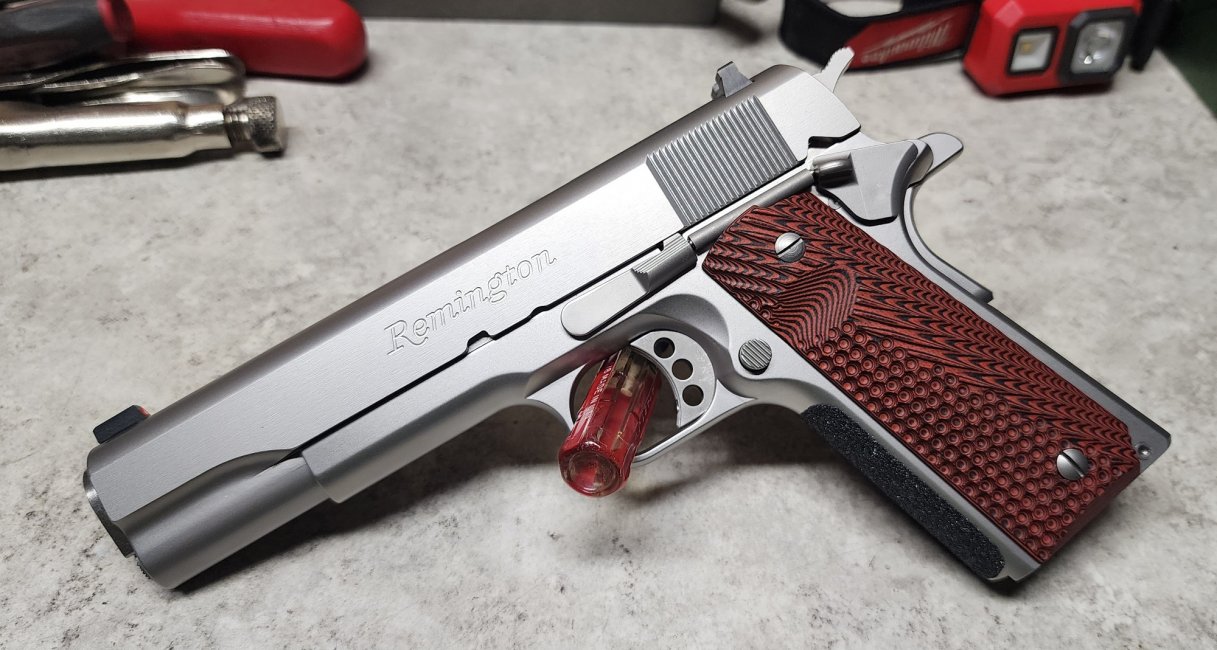
    Here's the gun. I picked this up not too long ago from a LGS as "used", but it was actually never fired. So far, I've swapped in a SA long trigger, removed the 80 series parts and replaced with a TJ's .057" spacer, adjusted the trigger pull down to just over 3 pounds and added some Cool Hand G10 grips. It's pleasant to shoot, despite being a "GI style" gun without a lot of the bells & whistles.


    20230714_221608.jpg

    Ugly, very ugly in the rear.

    20230911_061257.jpg

    20230911_061345.jpg

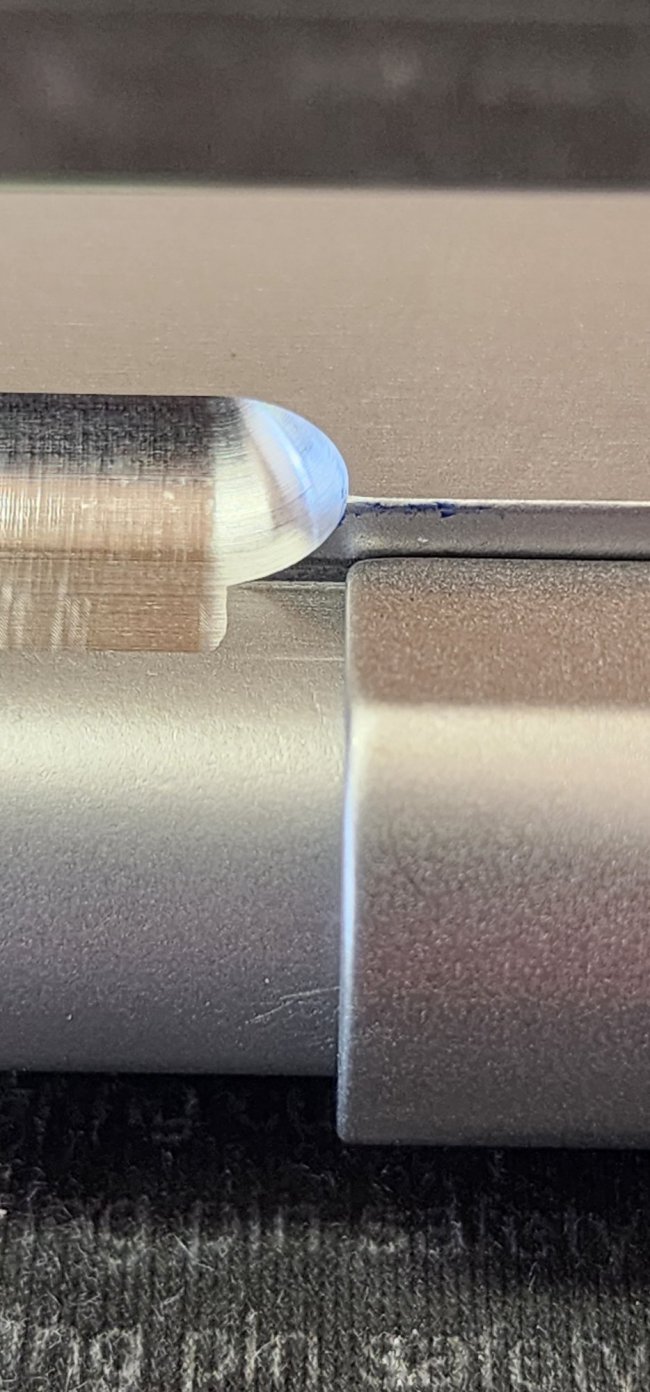
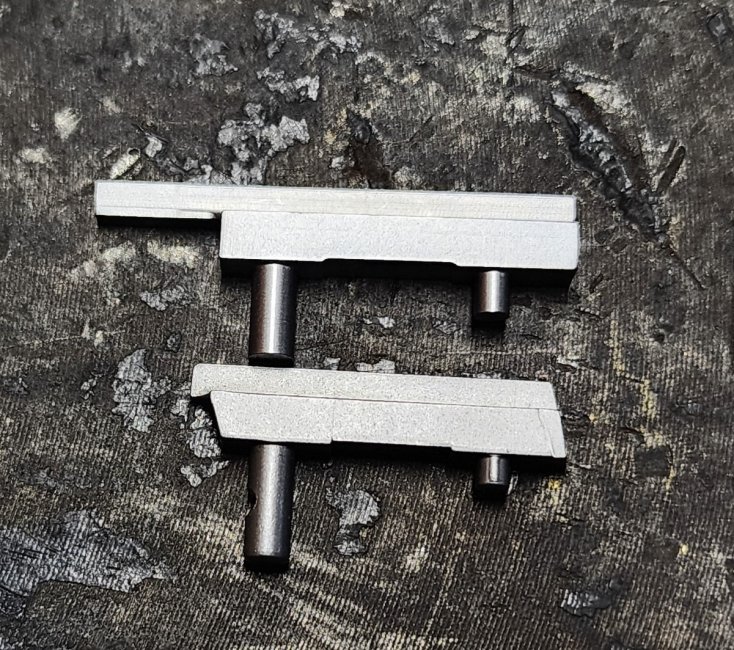
    The original ejector was actually a little loose and it came out quite easy. You can see how much longer the EGW ejector is in comparison.
    20230911_062328.jpg

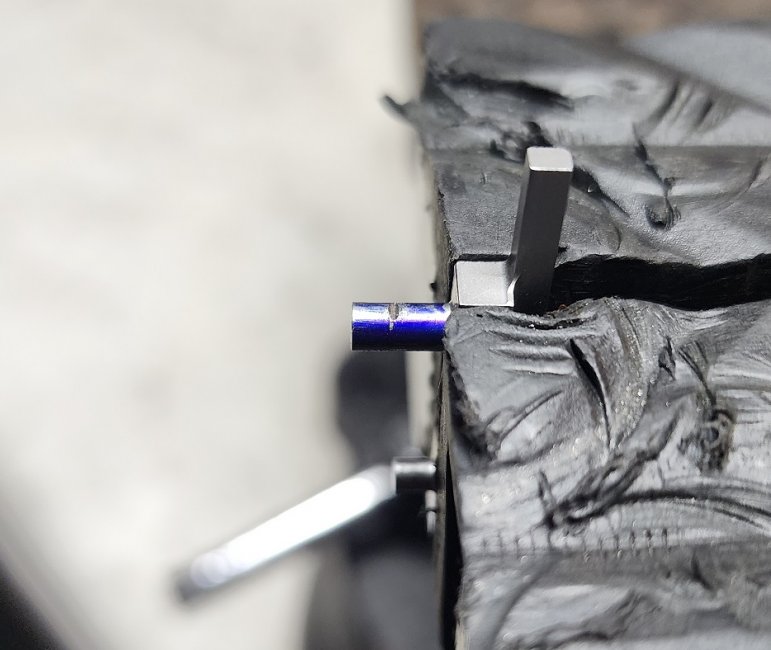
    Marked the new ejector and began cutting a groove for the pin. I started my cut a little high, to help pull the ejector down when the pin is installed, and it worked well doing that.
    20230911_065032.jpg

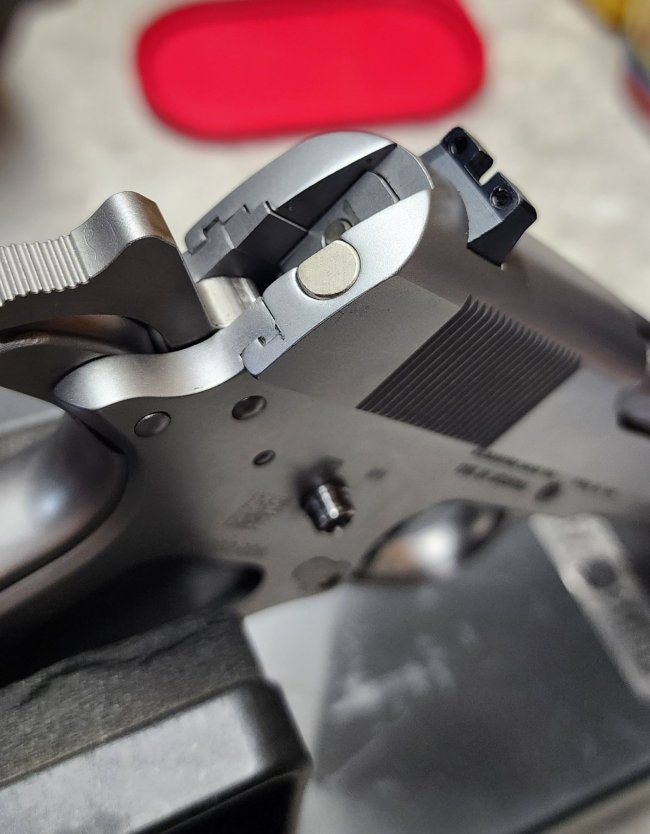
    New ejector in place and now sitting proud.
    20230911_062821.jpg

    20230911_062911.jpg

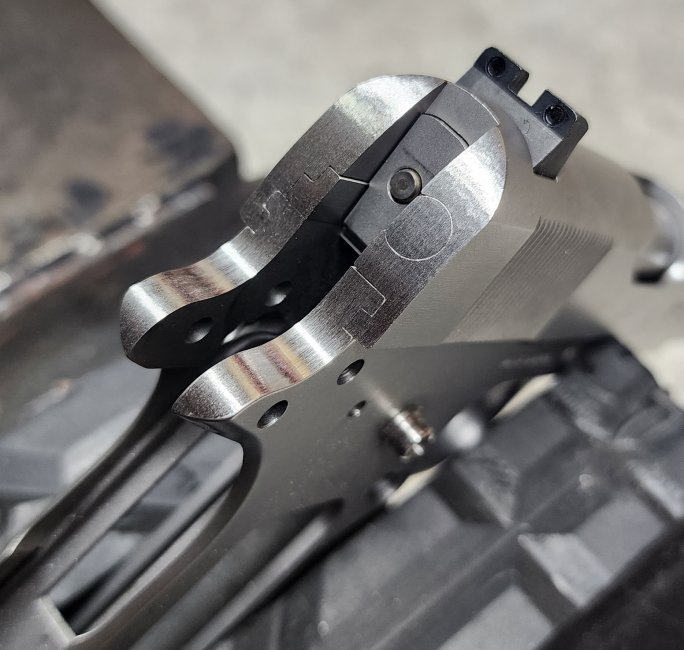
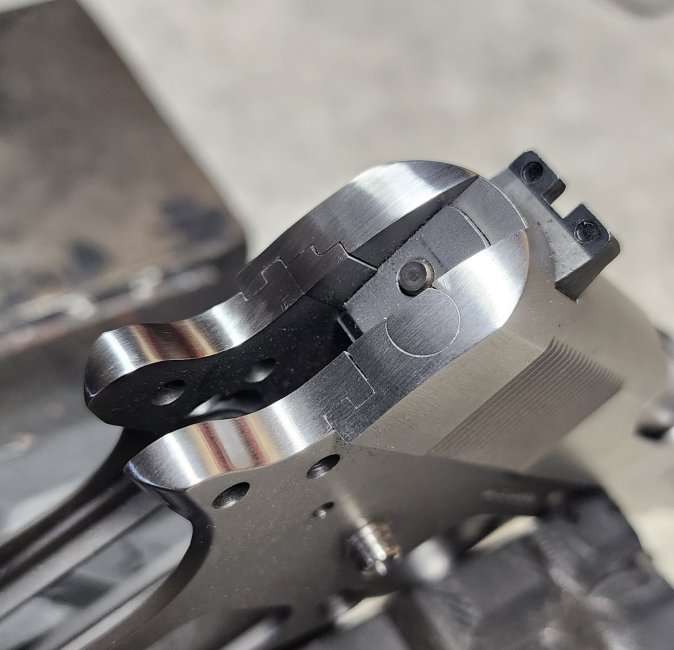
    Time to get the belt sander out. Just kidding. I carefully used a Milwaukee Rotary tool ("Dremel") with coarse and fine sanding discs. This worked very well, I kept the speed manageable and keep a nice smooth sweeping motion. I followed that up with 600/800 grit sandpaper.
    20230911_091832.jpg
    20230911_094816.jpg
     

    T-DOGG

    I'm Spicy, deal with it.
    Site Supporter
    Rating - 99.6%
    263   1   0
    Feb 4, 2011
    17,553
    149
    New Haven
    Began hitting the area with 1000 grit, followed by 1500 grit and then polishing compound on a little buffing wheel with the Rotary.

    20230911_103220.jpg

    With that portion done, it was time to move onto adjusting the length of the front section of the ejector. From everything I researched, the general consensus said to keep the ejector as long as possible to start with and file it back until a live round can be ejected. And also keep the face flat until test firing is performed and adjust shape if needed. This was a long tedious process, but I took my time and took off between .005" - .010" at a time until. I ended up removing .090" total. I originally did this with snap caps but found those to be considerably shorter than live rounds. I confirmed that Norma and PMC 230gr ejected once completed (yes, I did this in a safe manner and without a majority of the gun together, no trigger or hammer installed).

    20230911_110352.jpg

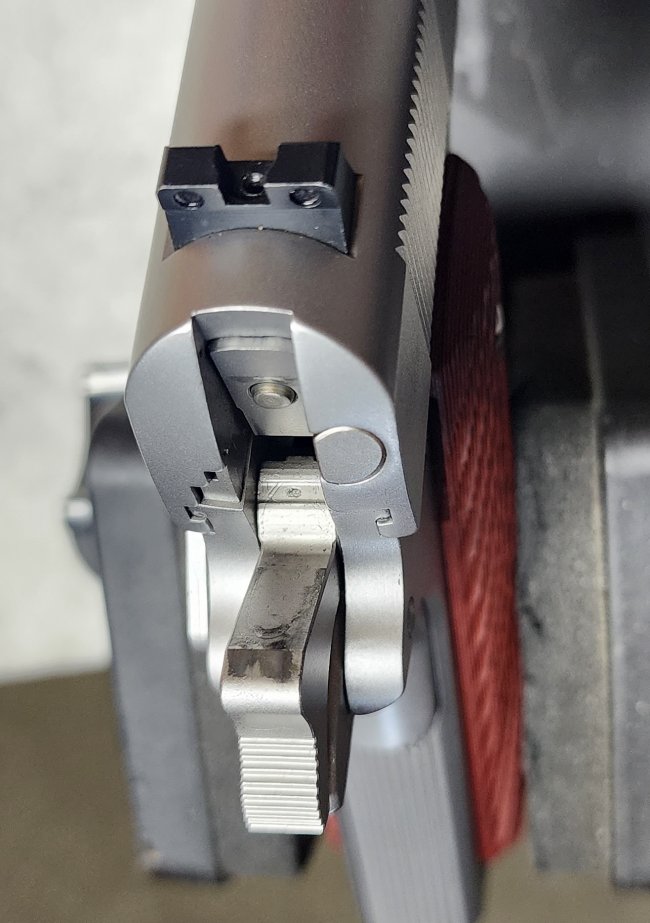
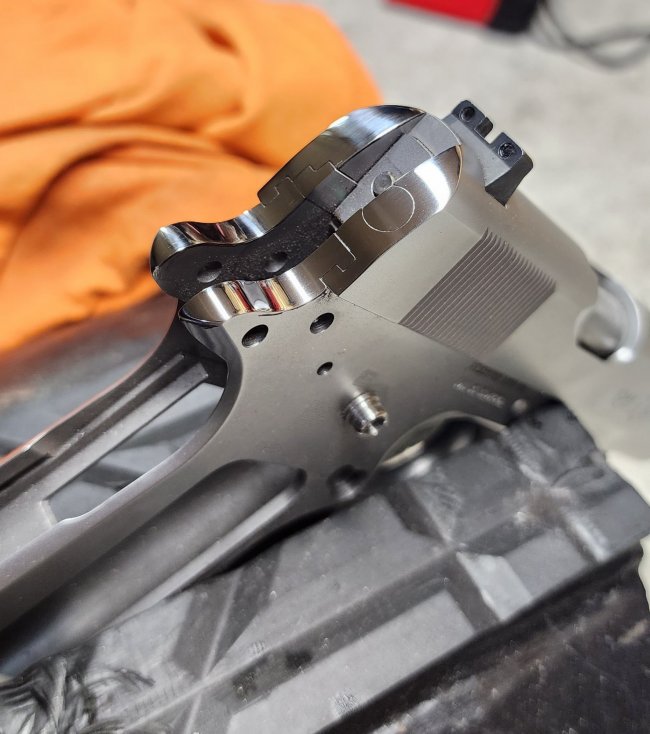
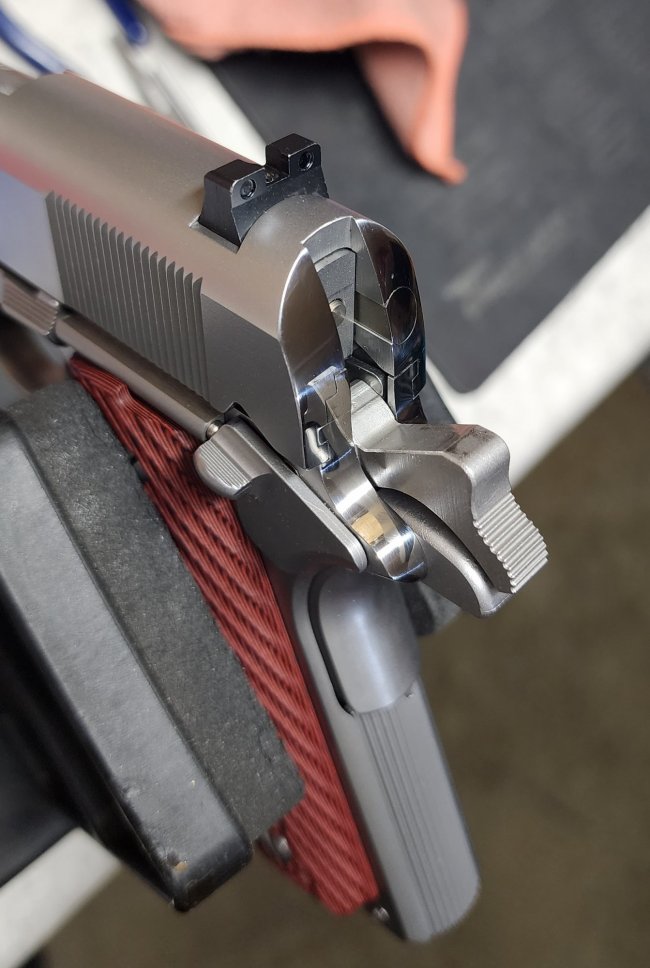
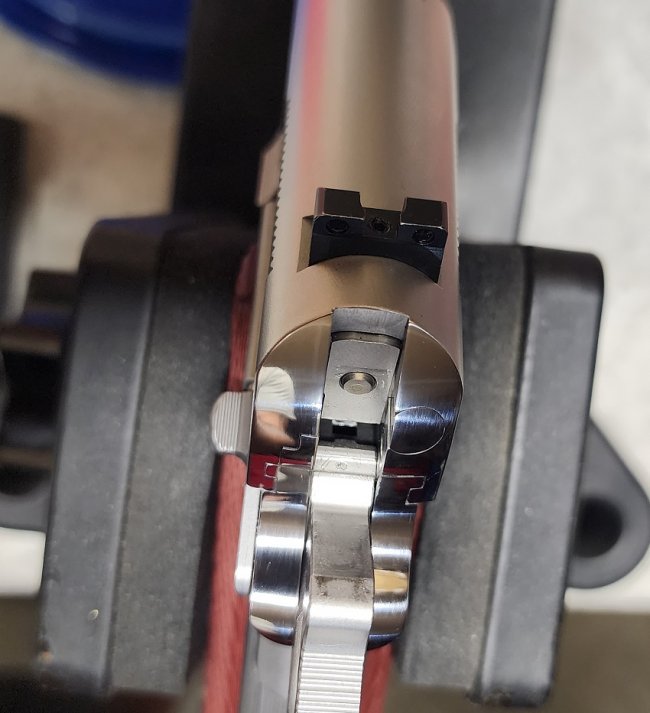
    All done and back together, a complete gun once again. I will probably eventually bead blast this gun at some point, but the polished look will work for now. Test firing at the range will be next thing on the list for this gun.

    20230911_122611.jpg 20230911_122633.jpg 20230911_122641.jpg 20230911_123144.jpg
     

    T-DOGG

    I'm Spicy, deal with it.
    Site Supporter
    Rating - 99.6%
    263   1   0
    Feb 4, 2011
    17,553
    149
    New Haven
    Very nice work. I really like the Remington R1 I have but the trigger could definitely use a little work. I removed the 80s parts as well.
    I also polished the disconnector, sear, and trigger bar contact surfaces along with adjusting the sear and disconnector legs of the sear spring assy to reduce the pull weight. It's pretty respectable for stock/mim parts.
     

    T-DOGG

    I'm Spicy, deal with it.
    Site Supporter
    Rating - 99.6%
    263   1   0
    Feb 4, 2011
    17,553
    149
    New Haven
    Nice job, I probably would have just taken it to 300-400 grit and reblasted it.
    I've never sandblasted before. Does the appearance change much after you get the finish to a certain smoothness? At 400, it looks the same as 800 after blasting?

    I've been looking at getting a blast cabinet and media. I think I can make room in the garage.
     

    RustyHornet

    Grandmaster
    Rating - 100%
    13   0   0
    Jun 29, 2012
    18,481
    113
    Fort Wayne, IN
    I've never sandblasted before. Does the appearance change much after you get the finish to a certain smoothness? At 400, it looks the same as 800 after blasting?

    I've been looking at getting a blast cabinet and media. I think I can make room in the garage.
    Once it’s blasted, you won’t be able to tell what it was sanded with.
     

    drillsgt

    Grandmaster
    Rating - 100%
    108   0   0
    Nov 29, 2009
    9,652
    149
    Sioux Falls, SD
    That's very unusual in a .45 to be able to have an ejector nose that long. There have been some instances where an overly long ejector has acted like an impromptu firing pin.
     

    WebSnyper

    Time to make the chimichangas
    Rating - 100%
    59   0   0
    Jul 3, 2010
    15,749
    113
    127.0.0.1
    You've met me before, unusual is par for the course with me. :):


    lydia-deetz.gif
     

    T-DOGG

    I'm Spicy, deal with it.
    Site Supporter
    Rating - 99.6%
    263   1   0
    Feb 4, 2011
    17,553
    149
    New Haven
    This is back on the bench currently.

    Ball cut with 3/8" ball end mill.

    20231003_172925.jpg
    20231003_173729.jpg
    20231003_173755.jpg

    Flat top with 1/2" end mill. Took off about .022". First time ever on this cut, did not practice beforehand.

    20231003_191545.jpg
    20231003_192156.jpg
    20231003_192139.jpg

    French border with 1/8" ball end mill. About .005" deep.

    20231003_201056.jpg
    20231003_201539.jpg 20231003_203807.jpg

    And some 1/8" ball cuts on top about .005" - .007" deep. Cuts came out good with good spacing and centering, but I see my flat top is just ever so slightly off centered, hard to see that in this picture, but its there.

    20231003_223532.jpg
     

    T-DOGG

    I'm Spicy, deal with it.
    Site Supporter
    Rating - 99.6%
    263   1   0
    Feb 4, 2011
    17,553
    149
    New Haven
    Cleaned up all the small parts, removing molding lines (MIM) and bead blasted them to match. Blasted the frame and slide. All back together. Eventually this one gets new sights and a checkered mainspring housing.

    20231004_123552.jpg
    20231004_123407.jpg
    20231004_123220.jpg
    20231004_122944.jpg
     

    DadSmith

    Grandmaster
    Rating - 100%
    1   0   0
    Oct 21, 2018
    23,075
    113
    Ripley County
    Began hitting the area with 1000 grit, followed by 1500 grit and then polishing compound on a little buffing wheel with the Rotary.

    View attachment 298823

    With that portion done, it was time to move onto adjusting the length of the front section of the ejector. From everything I researched, the general consensus said to keep the ejector as long as possible to start with and file it back until a live round can be ejected. And also keep the face flat until test firing is performed and adjust shape if needed. This was a long tedious process, but I took my time and took off between .005" - .010" at a time until. I ended up removing .090" total. I originally did this with snap caps but found those to be considerably shorter than live rounds. I confirmed that Norma and PMC 230gr ejected once completed (yes, I did this in a safe manner and without a majority of the gun together, no trigger or hammer installed).

    View attachment 298825

    All done and back together, a complete gun once again. I will probably eventually bead blast this gun at some point, but the polished look will work for now. Test firing at the range will be next thing on the list for this gun.

    View attachment 298826 View attachment 298827 View attachment 298828 View attachment 298829
    I need to come spend a day here and there and have you teach me how you do all this. Bring my own 1911 to mess up on and learn.
    Churchmouse offered to do that, unfortunately I didn't make it and I kick myself every time I remember CM.
    He was a great guy.
     

    T-DOGG

    I'm Spicy, deal with it.
    Site Supporter
    Rating - 99.6%
    263   1   0
    Feb 4, 2011
    17,553
    149
    New Haven
    I need to come spend a day here and there and have you teach me how you do all this. Bring my own 1911 to mess up on and learn.
    Churchmouse offered to do that, unfortunately I didn't make it and I kick myself every time I remember CM.
    He was a great guy.
    I'm definitely not the guy for teaching this stuff. I'm still a novice when it comes to gunsmithing.
     
    Top Bottom