Rifle stock renovation

The #1 community for Gun Owners in Indiana

Member Benefits:

  • Fewer Ads!
  • Discuss all aspects of firearm ownership
  • Discuss anti-gun legislation
  • Buy, sell, and trade in the classified section
  • Chat with Local gun shops, ranges, trainers & other businesses
  • Discover free outdoor shooting areas
  • View up to date on firearm-related events
  • Share photos & video with other members
  • ...and so much more!
  • Mongo59

    Master
    Rating - 100%
    12   0   0
    Jul 30, 2018
    4,481
    113
    Purgatory
    Page 1
    What do you do when you come across a stock, that had everything you tell others to never try, already done to it? Run the other way?

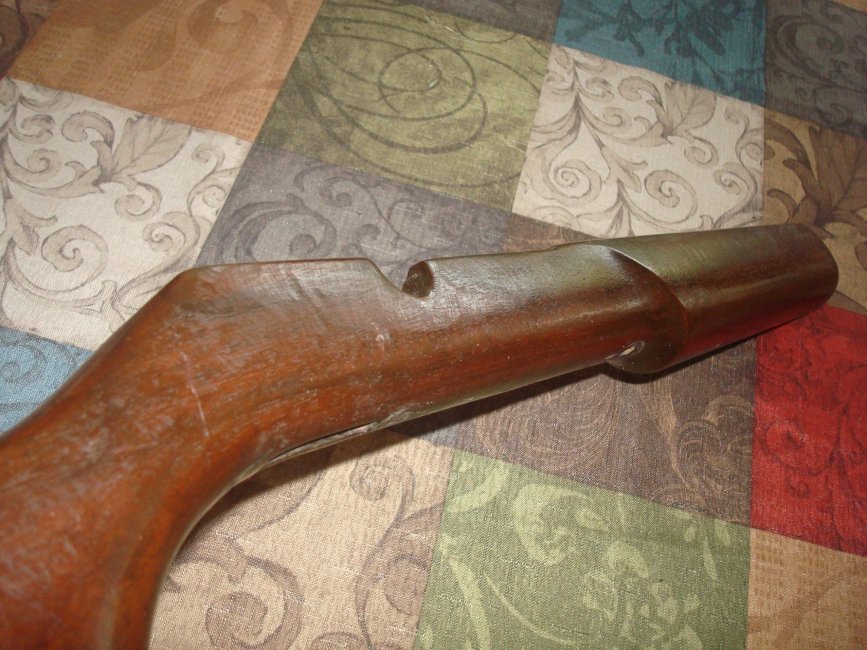
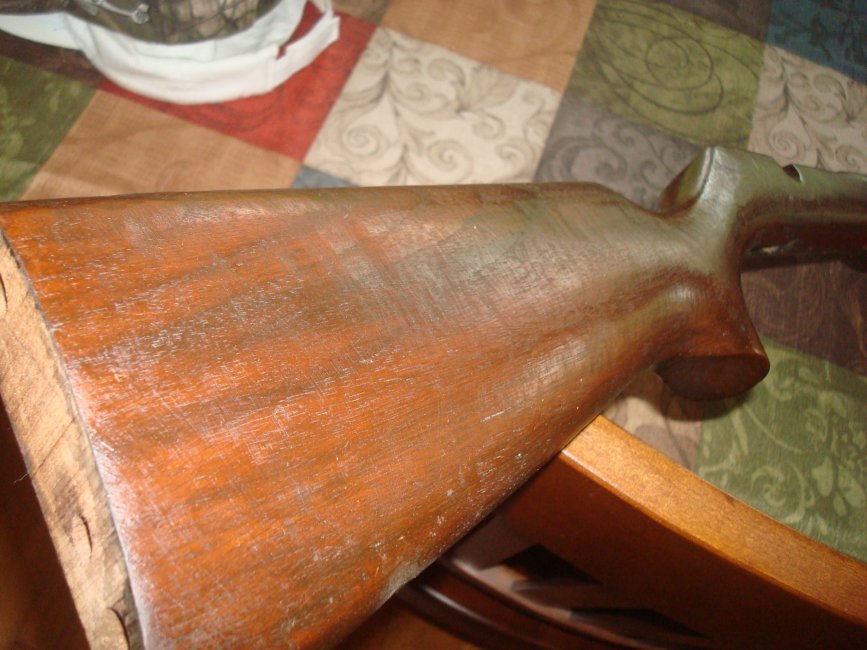
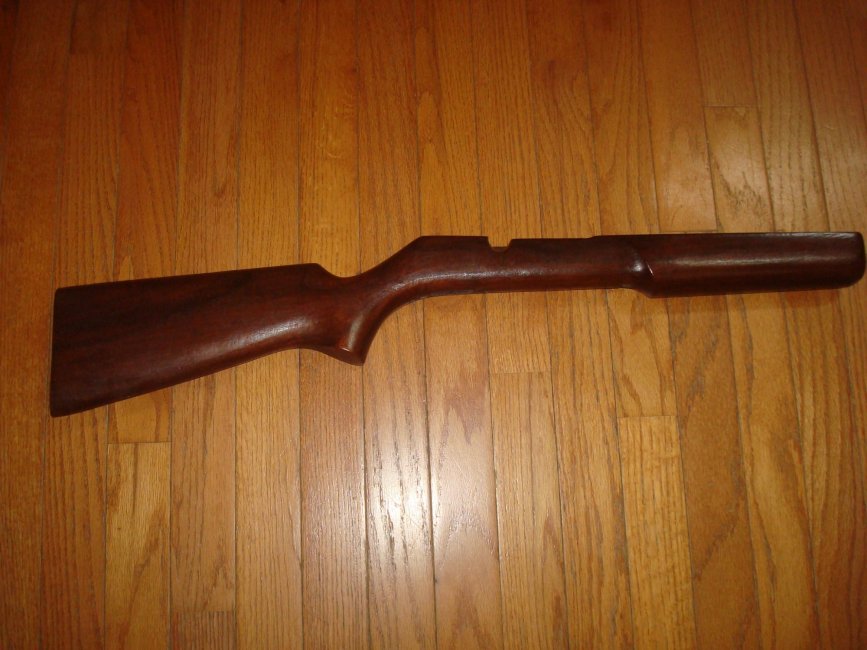
    I had bought a Mossberg number 46 from a friend a while back. The finish to the stock was done with a circular sander, it might as well have been an angle grinder. The metal was in better than average shape but wow, that furniture had to be altered.

    I considered upholstering it in paisley, which would have been an improvement, but decided to go deep and see what the stock was made of. The finish was made to look old as they had probably used Danish Oil to add an antique look, so all that had to go.

    I am no fan of sand paper. It is expensive and on most stock finishes it will gum up the fist time you show it what you are working on. Power tools are a no go at my place as you can make it worse trying to make it better in no time flat. For those who think they are proficient enough with a power tool for refinishing I advise you to purchase a new Corvette and practice on it's finish before going near gun wood. So I recommend scraping. What to scare with? I use one of those off brand kitchen paring knives with the stainless handle. It has a thin flexible blade and works well. To start try using it sharp edge down canting the blade away from yourself at a 45 degree angle and draw it toward yourself. It works great and if you don't believe me just ask my half brother. This is done at a fairly rapid pace overlapping until all the old finish is gone.

    The culprit:
    1694039565485.jpeg
    1694039612727.jpeg 1694039667858.jpeg
     

    Mongo59

    Master
    Rating - 100%
    12   0   0
    Jul 30, 2018
    4,481
    113
    Purgatory
    Page 2
    As you can see it has been beavered up pretty good and there is no way just looking at it to magically tell what the finished product will be. So there is risk, but most of these purchases are what I call "empathy buys" as they literally cry out to me for help. (Strange, yes, I know I am.)

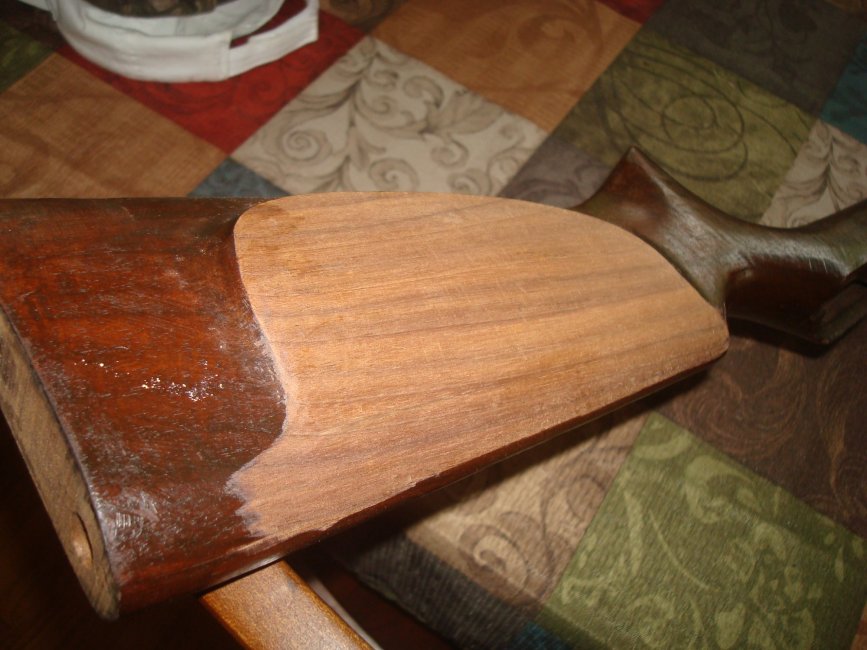
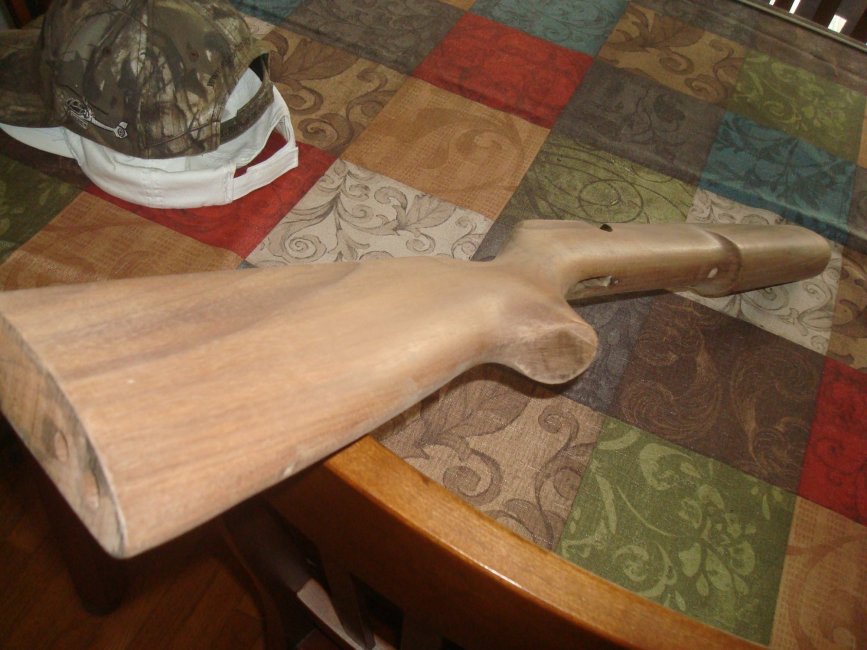
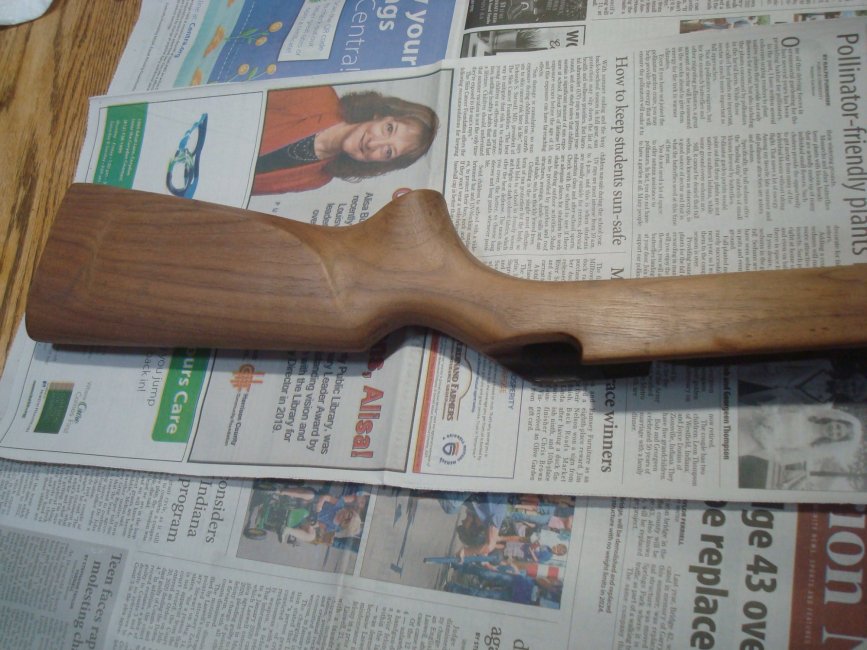
    Now this is what the cheek piece looks like after the first stage of scraping alone. No stripping, no sanding no other prep other than time and a kitchen paring knife.
    1694040101027.jpeg
    Yes, it is that easy. Now a picture of approximately 2 hours of work. Once again, nothing was used other than a kitchen paring knife. If you look close you can still see a hint of the teeth marks from the previous owner. Most of the light scratches are gone and when you get to a deep one I will curl the knife edge towards myself to help transfer the edges in a less acute manner, repeating over and over all while overlapping.
    1694040251114.jpeg
     

    patience0830

    .22 magician
    Site Supporter
    Rating - 96.6%
    28   1   0
    Nov 3, 2008
    18,040
    149
    Not far from the tree
    I will finish this in a day or so and post pictures here when done. I hope this is either entertaining, educational or both.
    Nice work so far. I'm looking forward to seeing the finished product. At least you didn't have to apply heat and whiting to remove about 50 yrs of SAE 30 from the inletting like on my Grandfather's Marlin.;)
     

    Mongo59

    Master
    Rating - 100%
    12   0   0
    Jul 30, 2018
    4,481
    113
    Purgatory
    Page 3
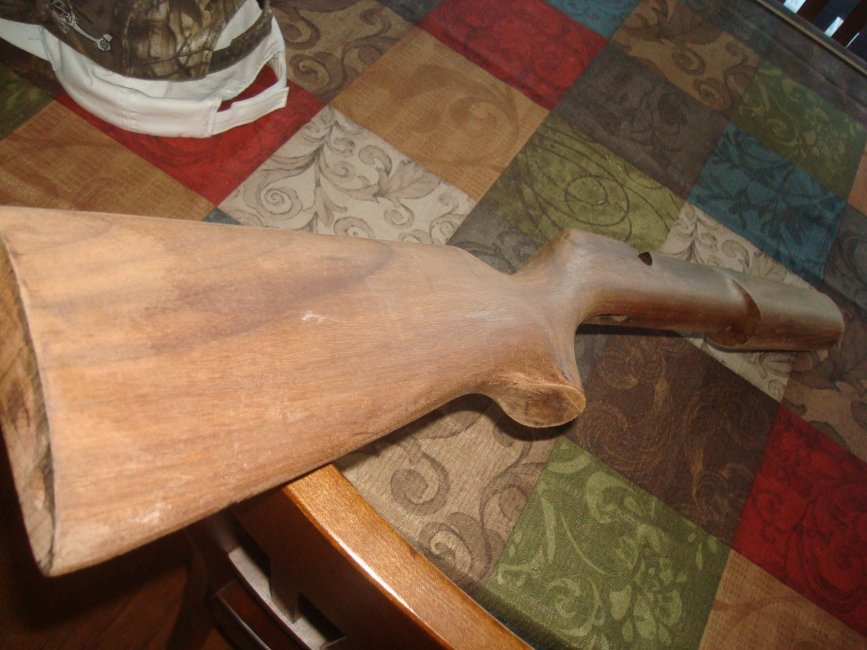
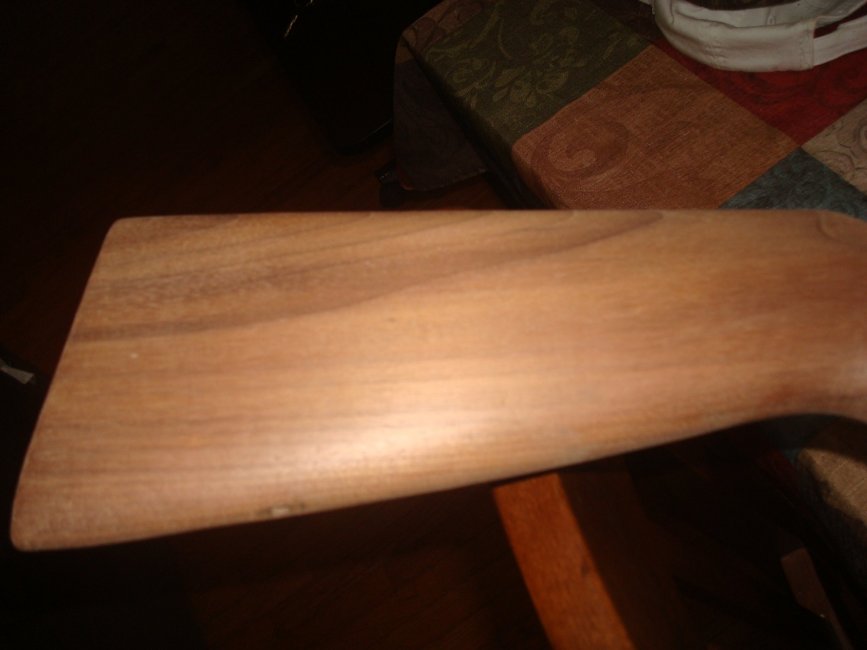
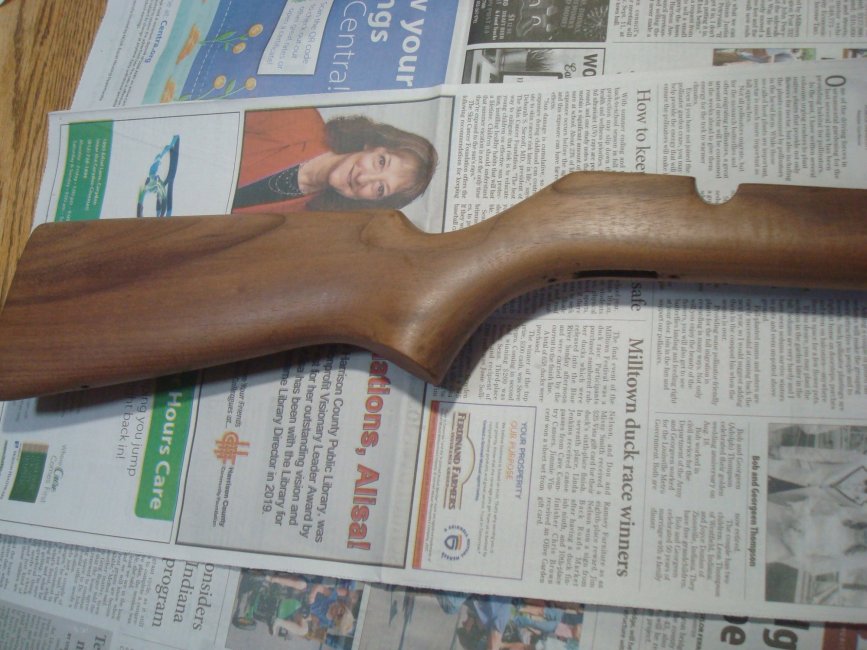
    End of second phase of process. I have rubbed out the whole stock using nothing but 1 pad of medium coarse steel wool. This takes almost as much time as the first phase but it isn't a part where you say, "good enough."

    Any place you leave will bristle up like a puffer fish when you apply stain or oil. If you haven't believed me thus far and used sand paper you will note ALL the pores of the wood is now clogged with dust. With steel wool the pores are wide open and ready to take what ever you give it.

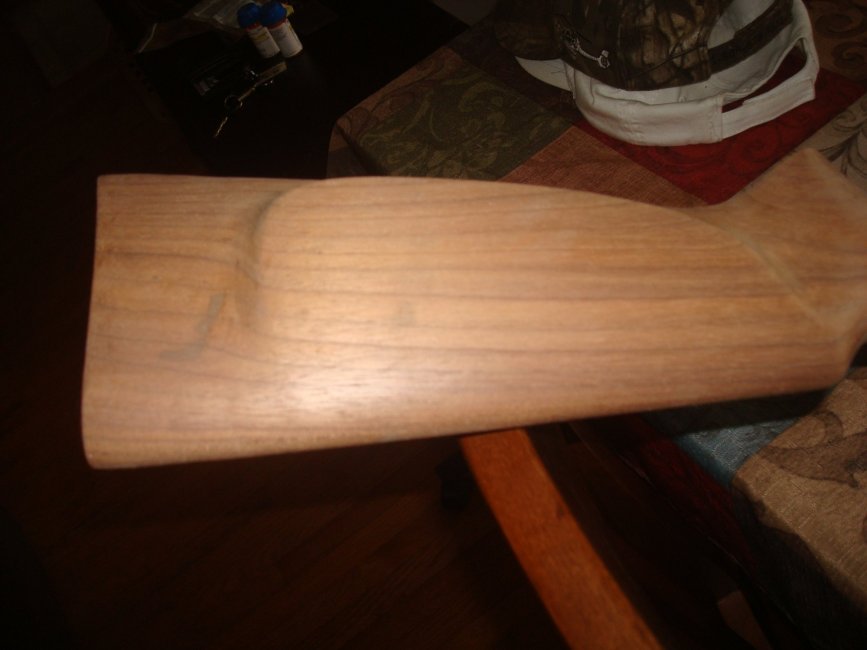
    The hard part is trying to keep the stock dry while doing this part. I recommend using gloves for this part but just for the sake of those out there that can't/won't wear gloves I held the piece with a doubled over paper towel during the whole process. If you get to a tough spot that doesn't seem to want to leave just wipe a little sweat off your brow on the spot. It will bristle up and can easily be smoothed with the steel wool. The hard part is while you near completion all your other sweat droplets want to jump into the work. If you look just behind the cheek pad (on the bottom pic) you will see a dark spot. That is where sweat got on it coming back into the house. It will come out easily but will have to be addressed before moving on.
    1694094647470.jpeg
    1694094754148.jpeg
    1694094806935.jpeg
    You will notice in the middle pic they have attached sling swivels in the past. If you do not want them this is the time to take the fine dust you can shake out of the steel wool pad and mix it with your favorite wood glue and pack as much of it into the holes as you can leaving it proud to the surrounding wood. Once dry it will sand and stain just like the donor wood. This is going to be a shooter so I chose to leave the swivels. Note, if you aren't happy with the placement of the swivel you can patch and re-tap.

    You can see the wood taking on a sheen, this is the desired outcome. A little more work needs to be done before adding finish. I have chosen not to stain this piece as it has nice color and grain. I don't wish to take away from this natural character

    History: The number 46 was made by Mossberg during the depression. It was made only in 1935-1937. It will shoot the S, L and LR via a tube mag. This one was tapped for a peep from the factory. I purchased this one from Mauser Mike at a show as he had taken it in on trade. The previous show I had attended I came across a peep sight that the owner said no one knew what gun it was for. It had been put together backwards and looked like it would mount on the right side of the receiver. I bought it knowing it could be reversed and low and behold it is the exact peep for this gun. All I have to do is go through the bags and bags of gun screws I have to get the proper ones to mount it.
     
    Last edited:

    Mongo59

    Master
    Rating - 100%
    12   0   0
    Jul 30, 2018
    4,481
    113
    Purgatory
    Page 4
    So, I went over it again with the steel wool and used a 2"x2" piece of emery cloth to go over the tough spots until it took on a sheen and felt good to the hand. There are two deep gouges on the stock that would be too noticeable if I went deep enough to take them all the way out. So this isn't to make the stock "as new", but to make it better than it was. I could go further and flatten all the imperfections out but those gouges will all the more draw attention to themselves.
    1694119266162.jpeg
    1694119496645.jpeg
    1694119734520.jpeg
     

    Mongo59

    Master
    Rating - 100%
    12   0   0
    Jul 30, 2018
    4,481
    113
    Purgatory
    Page 5
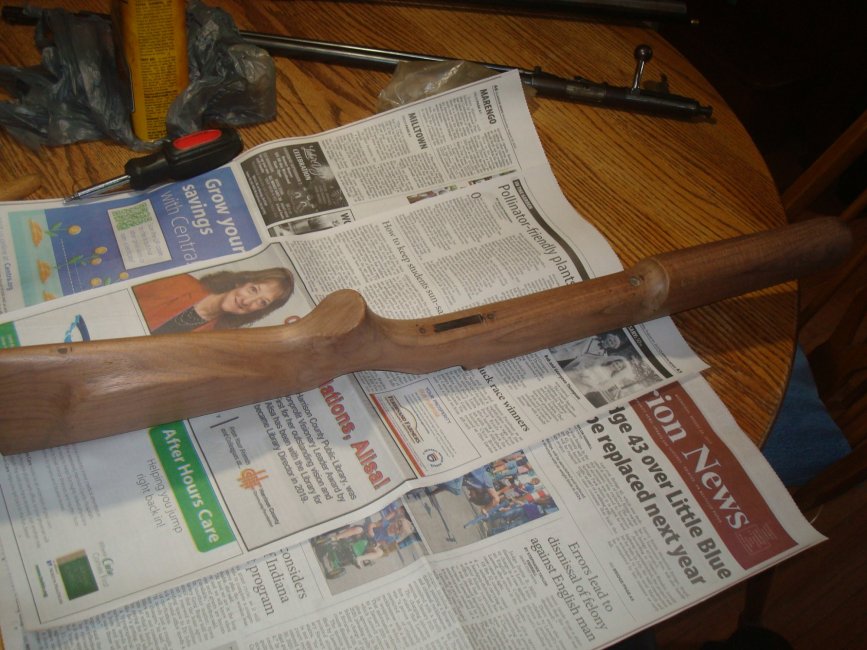
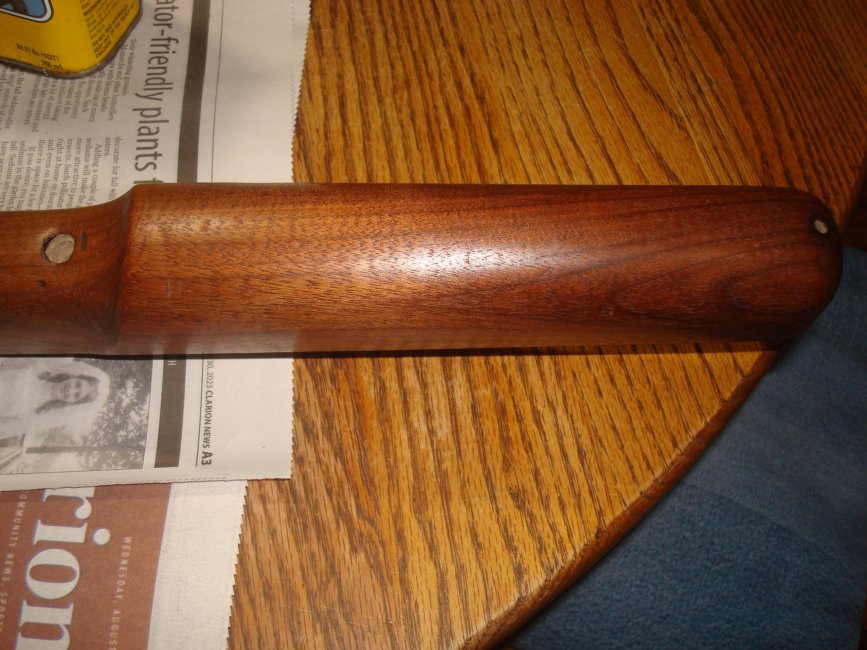
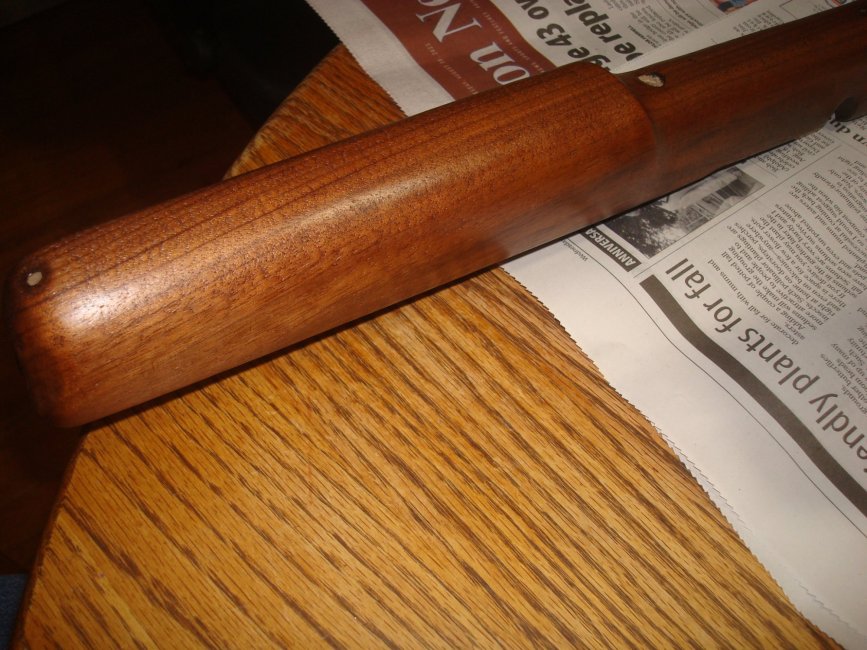
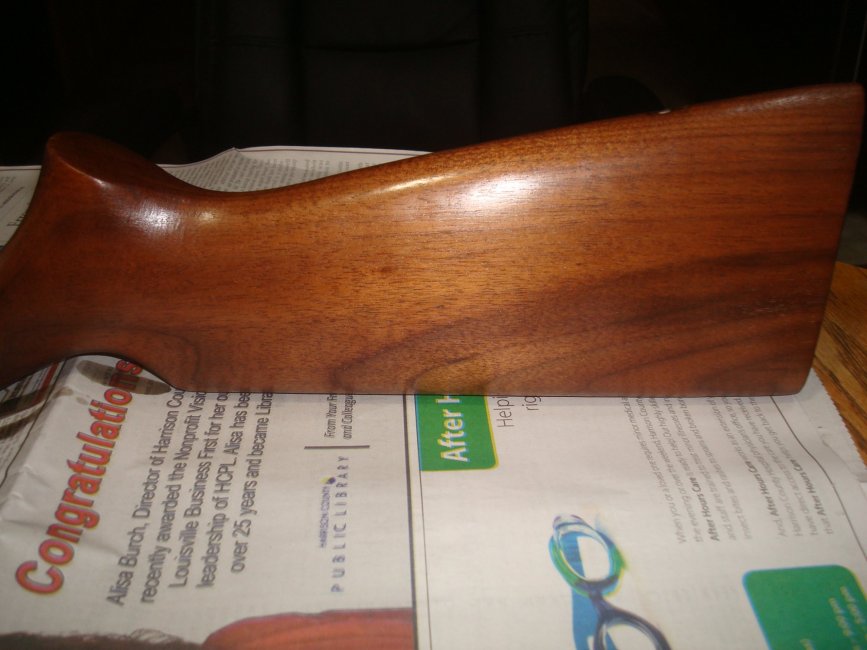
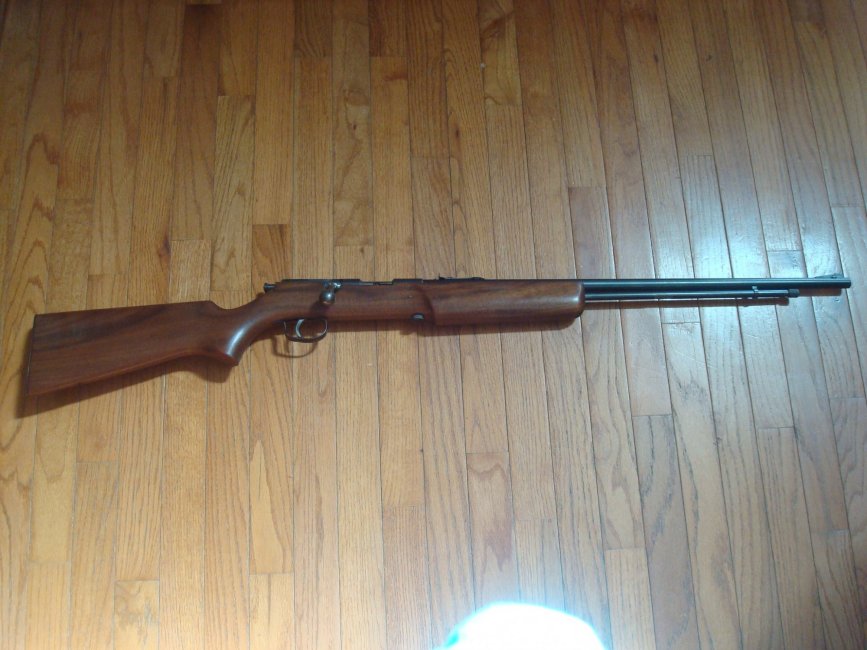
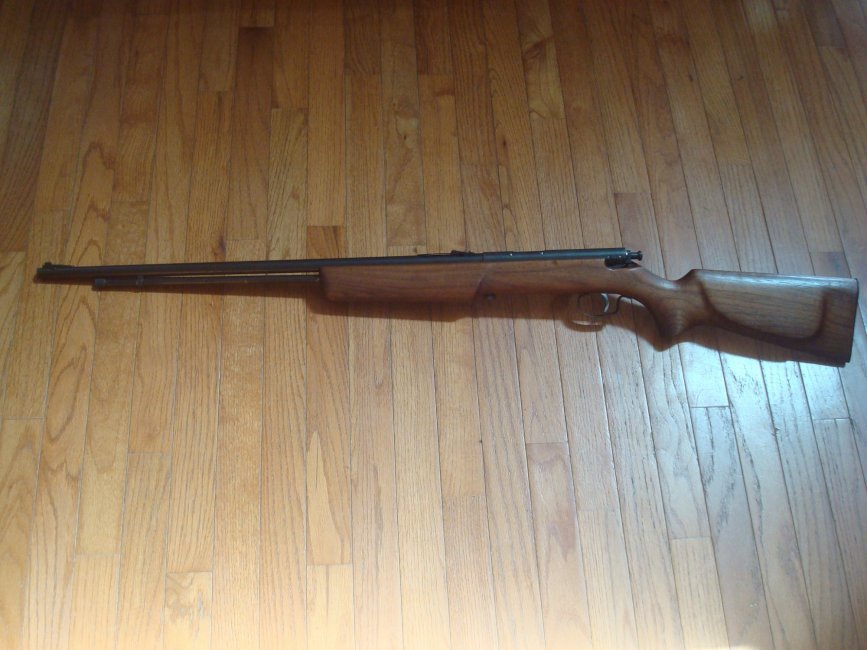
    Final step, wipe stock off with lintless paper towel, wash hands well. Pour a small puddle, nickel to quarter sized, of tung oil in the palm of your hand and rub hands together. Grab the stock and start at one end and rub the tung oil into the wood. This is old wood and very dry so it will suck the oil up like a fat kid at a sundae social. Keep pouring puddles in you hand rubbing it into the wood until the whole stock is covered but not dripping in it. If you got to much on it and it looks like some is still on the surface after a few minutes then wipe again with a clean fresh lintless paper towel. It will feel dry to touch in 30min of so, but let it dry over night and apply second coat in the am and if a third is desired then do it the following morning. Leaving extra on the surface is a false economy in this job. Always wipe excess off with a new paper towel after each application. It will take longer for the wood to soak it up and more residual will be left. This is the desired effect, the oil not only makes the surface shine but fills the woods pores with the resin keeping it safe and strong. In the future if the surface is dull, worn or has a scratch, just lightly steel wool it and apply tung oil the same as we are now. This is the first coat.
    1694120696119.jpeg
    1694120806364.jpeg
    1694120965413.jpeg
    I may add another coat, I may not. I have stocks look great after only one coat and others need several. It is all in the preparation. Hours of preparing the wood, minutes to add tung oil. Boiled Linseed oil is done the exact same way. I have used both and tend to like tung on commercial guns and BLO on military ones.

    The takedown screw still has the tell tale marks around it. I could take them out with more effort but then I would just make new ones. The hardest points are the end grains like the pistol grip. If you go wild on it and get it perfect the finish there is the first to go so I tend to save my efforts for future places where it can be applied more fruitfully. It is done when you say it is done, and I say this one is done. Good luck to you in your future projects.
     

    stocknup

    Expert
    Rating - 100%
    30   0   0
    Mar 28, 2011
    1,082
    113
    Monrovia area
    Page 5
    Final step, wipe stock off with lintless paper towel, wash hands well. Pour a small puddle, nickel to quarter sized, of tung oil in the palm of your hand and rub hands together. Grab the stock and start at one end and rub the tung oil into the wood. This is old wood and very dry so it will suck the oil up like a fat kid at a sundae social. Keep pouring puddles in you hand rubbing it into the wood until the whole stock is covered but not dripping in it. If you got to much on it and it looks like some is still on the surface after a few minutes then wipe again with a clean fresh lintless paper towel. It will feel dry to touch in 30min of so, but let it dry over night and apply second coat in the am and if a third is desired then do it the following morning. Leaving extra on the surface is a false economy in this job. Always wipe excess off with a new paper towel after each application. It will take longer for the wood to soak it up and more residual will be left. This is the desired effect, the oil not only makes the surface shine but fills the woods pores with the resin keeping it safe and strong. In the future if the surface is dull, worn or has a scratch, just lightly steel wool it and apply tung oil the same as we are now. This is the first coat.
    View attachment 297852
    View attachment 297853
    View attachment 297855
    I may add another coat, I may not. I have stocks look great after only one coat and others need several. It is all in the preparation. Hours of preparing the wood, minutes to add tung oil. Boiled Linseed oil is done the exact same way. I have used both and tend to like tung on commercial guns and BLO on military ones.

    The takedown screw still has the tell tale marks around it. I could take them out with more effort but then I would just make new ones. The hardest points are the end grains like the pistol grip. If you go wild on it and get it perfect the finish there is the first to go so I tend to save my efforts for future places where it can be applied more fruitfully. It is done when you say it is done, and I say this one is done. Good luck to you in your future projects.
    Nice work ! Looks Awesome ......................Can`t wait to try your technique out .
     

    Mongo59

    Master
    Rating - 100%
    12   0   0
    Jul 30, 2018
    4,481
    113
    Purgatory
    A word of advice, don't try to play cards after using the tung oil. It tends to leave area between your fingers a bit tacky. I use Scrubfree with bleach to wash my hands afterward and it is the best other than chemically defatting the skin with a petroleum solvent.
    Oh, and pure tung oil and BLO are both food grade products but the one I use is no where near pure, very little to be exact. I have never had it harm my skin but wearing gloves can give you a 'hand rubbed' finish also...
     

    Site Supporter

    INGO Supporter

    Latest posts

    Forum statistics

    Threads
    525,763
    Messages
    9,825,839
    Members
    53,917
    Latest member
    Hondolane
    Top Bottom